
New to shoppable posts? Head over to our step-by-step guide here.
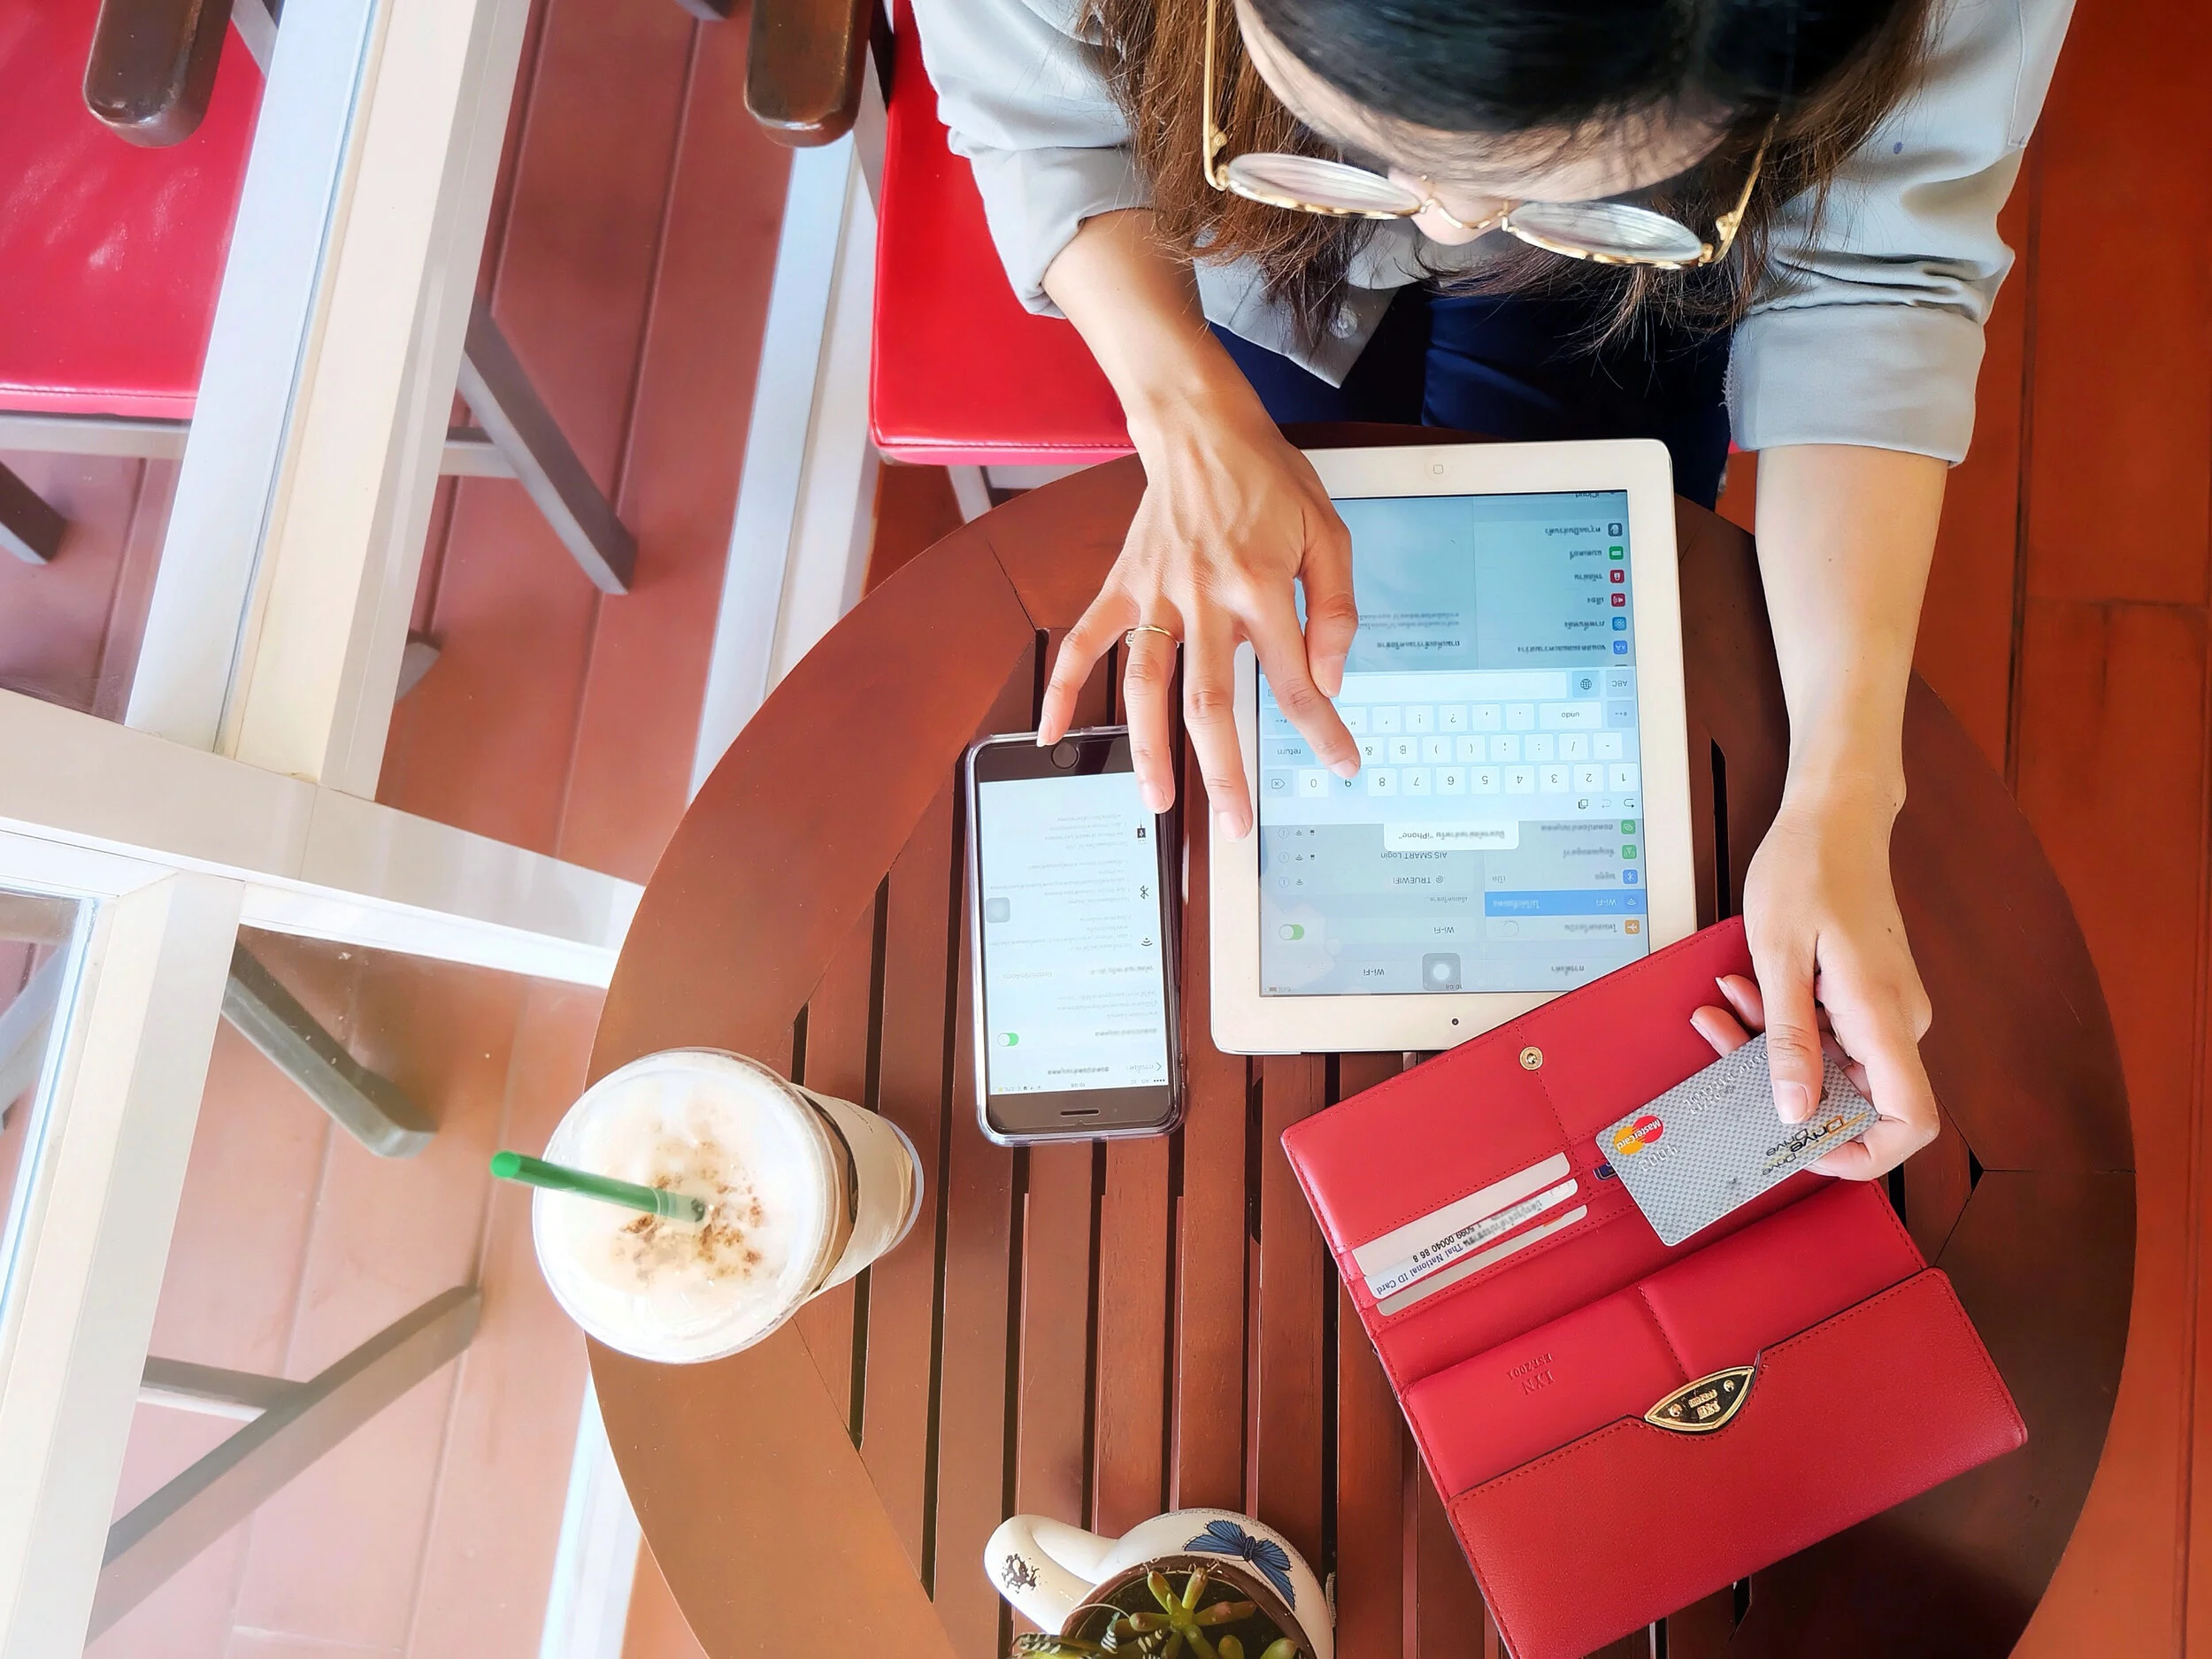
Month-over-month and year-over-year, more and more consumers are making purchases directly on social media. One digital marketing company found that in the last 12 months, there’s been a 38% increase in the number of users who placed high importance on being able to discover and purchase products directly through Facebook, Instagram, and Pinterest.
When it comes to social shopping and visual content, here are a few stats you need to know:
91% of brands agree visual content creates more engaging shopping experiences
86% say their imagery enhances their discoverability
73% said visual content increases conversions
77% confirmed it deepened brand trust

Allowing users to buy directly on social media should be part of an integrated, multi-platform approach. When used in conjunction with good data, well-targeted ads, and great organic social content, you’re sure to have a winning strategy in place.
One of the most important elements of that winning strategy is strong images. And, while the guidelines for each social platform are a little different, there’s one thing that’s true across every platform: high quality photography is a must.
With that in mind, read below for details on how to tailor your images to each platform.
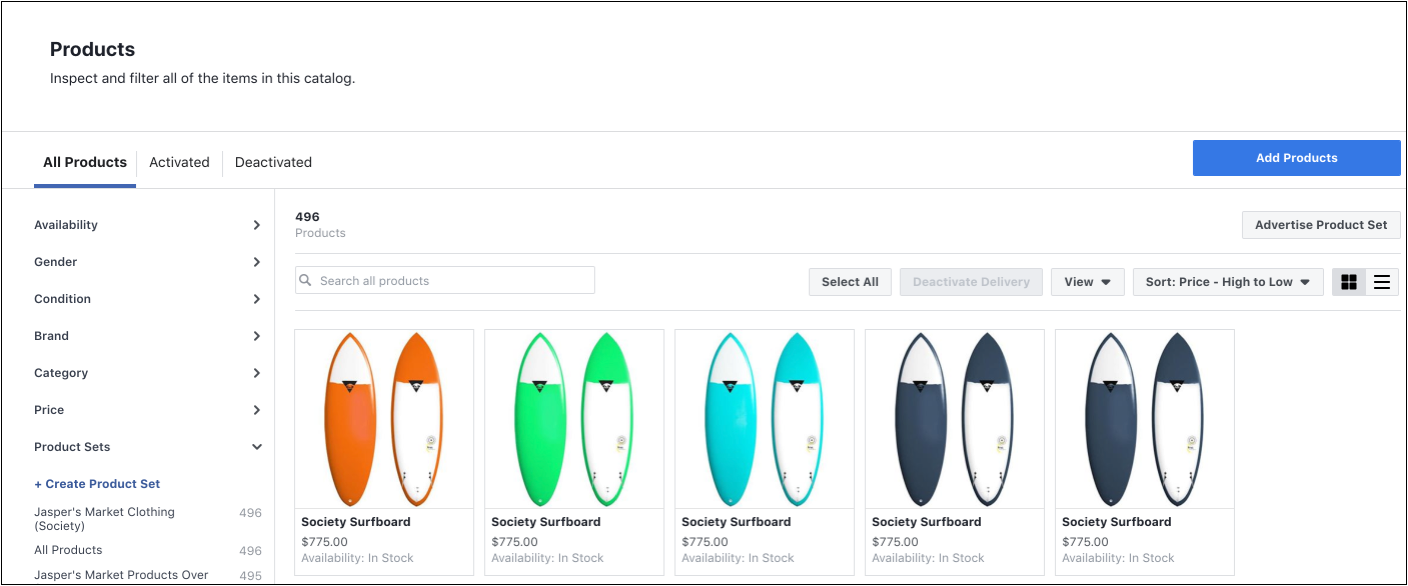
Regardless of what you’re selling, there are a couple of requirements your images must follow:
1. Each product must be supported by at least one image
2. The photo you use has to be of the product itself -- no creative interpretation allowed!
Once you’ve met those two guidelines, we also recommend you:
Make sure your images are easy to understand and that they capture the whole of the product. That’s not to say you’ll be penalized if the corner of your wallet is cropped out of the picture, but clarity is key and consumers want to see exactly what they’ll be buying.
Use an image resolution of 1024px x 2024px or higher for a clear display resolution.
If you’re worried your images don’t have a cohesive look, consider placing your photo on a white background. It’s a clean and simple approach that works well for almost every product.
Take shots of your product in real-life scenarios. For example, someone wearing a handbag gives an idea of scale and also provides the opportunity to show off your brand aesthetic. It’s a win-win!
Use the following image ratios to ensure your ad will display properly:
Ad images on the computer: 470 x 246 pixels.
Images of ads for mobile: 560 x 292 pixels.
Images in ads with a vertical column: 254 x 113.
Next up is Instagram – and whether you’re dabbling in shoppable posts or stories here’s what you need to know to ensure your images convert:
Consistency is key so make sure your photos reflect your brand’s personality. Users should instantly know it’s you when they scroll by! For example, here are two feeds that have a clear and recognizable look:
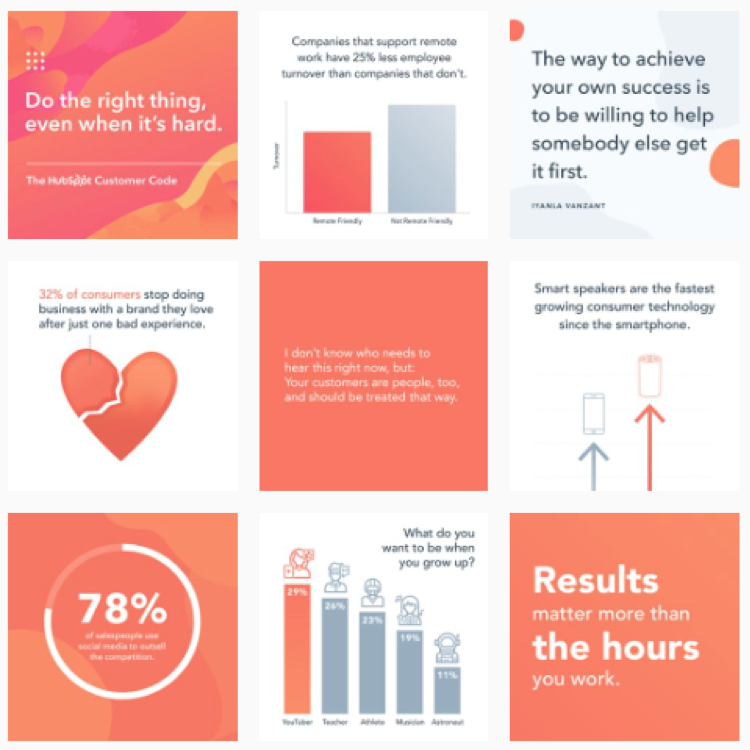
Hubspot
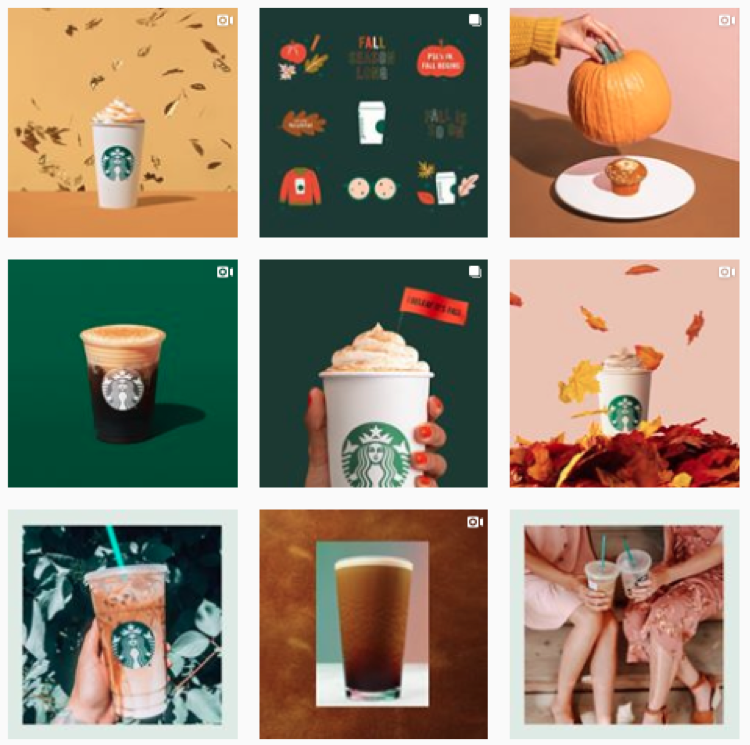
Starbucks
Brush up on different composition techniques and experiment with them in your shoots. You’ll want to establish your own style over time, but if you’re just getting started there’s a few things that are usually a hit on social:
Rule of thirds: Divide your photo into thirds (horizontally and vertically) and sit your product on the intersecting lines. More on that here.
Rule of odds: Put five bracelets in the frame instead of four, it’s usually more appealing.
Negative space: Ensure the space surrounding the product takes up more space than the product itself.
Centered composition: Place your product in the middle of the frame. This will ensure your image crops well no matter where it’s being previewed.
Play with your exposure until your photos find the right balance. Or, play around with under and over exposure to give your images a signature style!

Need tips on creating a branded look? We can help with that – check out this post.
On Pinterest, image quality reigns! Like Pinterest, Instagram is a visual platform – but Pinterest offers even less context than an Instagram post. Think of your picture as the preview for your whole webpage – even though you can create a long pin, you’ll want to get key text and a few grabby images up above the fold.
Pinterest recommends a 2:3 aspect ratio (ex: 1000 x 1500 pixels). Other ratios may cause your Pin to truncate and may negatively impact performance.
Just like Instagram, you’ll want to bring consistency to your feed by establishing clear and consistent branding.
The images you pick should help people understand why your product or idea is the right fit for them. Pick images that show context and bring your topic to life. Clearly show how someone might use your product, try your project, etc.
Text overlay can make your Pins stand out, adds context, and enhances your message. Keep text concise so it’s easy for people to read on their phones.
Hue & Tone: Let’s Get Social Together
Need help overhauling the look of your social media? Whether it’s your creating custom images or finding the perfect photo, we’ve got the solution that fits your needs. Get in touch at (336) 365-8559 or hannah@hueandtonecreative.com to find out more.